5 Spring Patio Decorating Ideas

Whether you live in an area that had a harsh winter, or you escaped to milder temperatures, you're probably looking forward to warmer days ahead. Spring encourages us to spend more time outside and relax with loved ones — but what does your ideal outdoor space look like?
No matter how you picture your dream patio, you should have an outdoor space that shows off your creative side and lets you unwind. Here are five of our favorite spring patio decorating ideas:
1. Make a statement [wreath].

Wreaths aren’t just for Christmas! If you’re looking for a simple yet creative way to welcome spring on your porch or patio, a wreath might be the perfect solution. Whether you “spring” for an Easter-themed wreath, a floral arrangement, or a pastel-colored monogram, your door hanging will be a great way to show off your style and your excitement for the season.
To add a statement wreath to your porch or patio door, try this DIY option from Sarah Joy:
What You’ll Need:
- 12-inch “hello” cutout, monogram initial, or Styrofoam Easter eggs
- 14-inch grapevine wreath
- Floral stems and greenery
- Hot glue gun
- Wire
- Wire cutters
What You’ll Do:
- Trim your floral stems so you’re left with just the top sections. They just need to be long enough to stick through the wreath.
- Start placing the floral stems and greenery around the corner of the wreath (any way you like). Make sure these go completely through the wreath so you can see the stem on the other side.
- Use your hot glue gun to secure the stems and greenery in place. Trim off any excess from the back of the wreath (too-long stems, etc.).
- Place your cutout, monogram, or Easter eggs on the wreath.
- Use wire to secure a cutout or monogram; apply hot glue to Easter eggs to hold them in place.
2. Plant an herb garden.
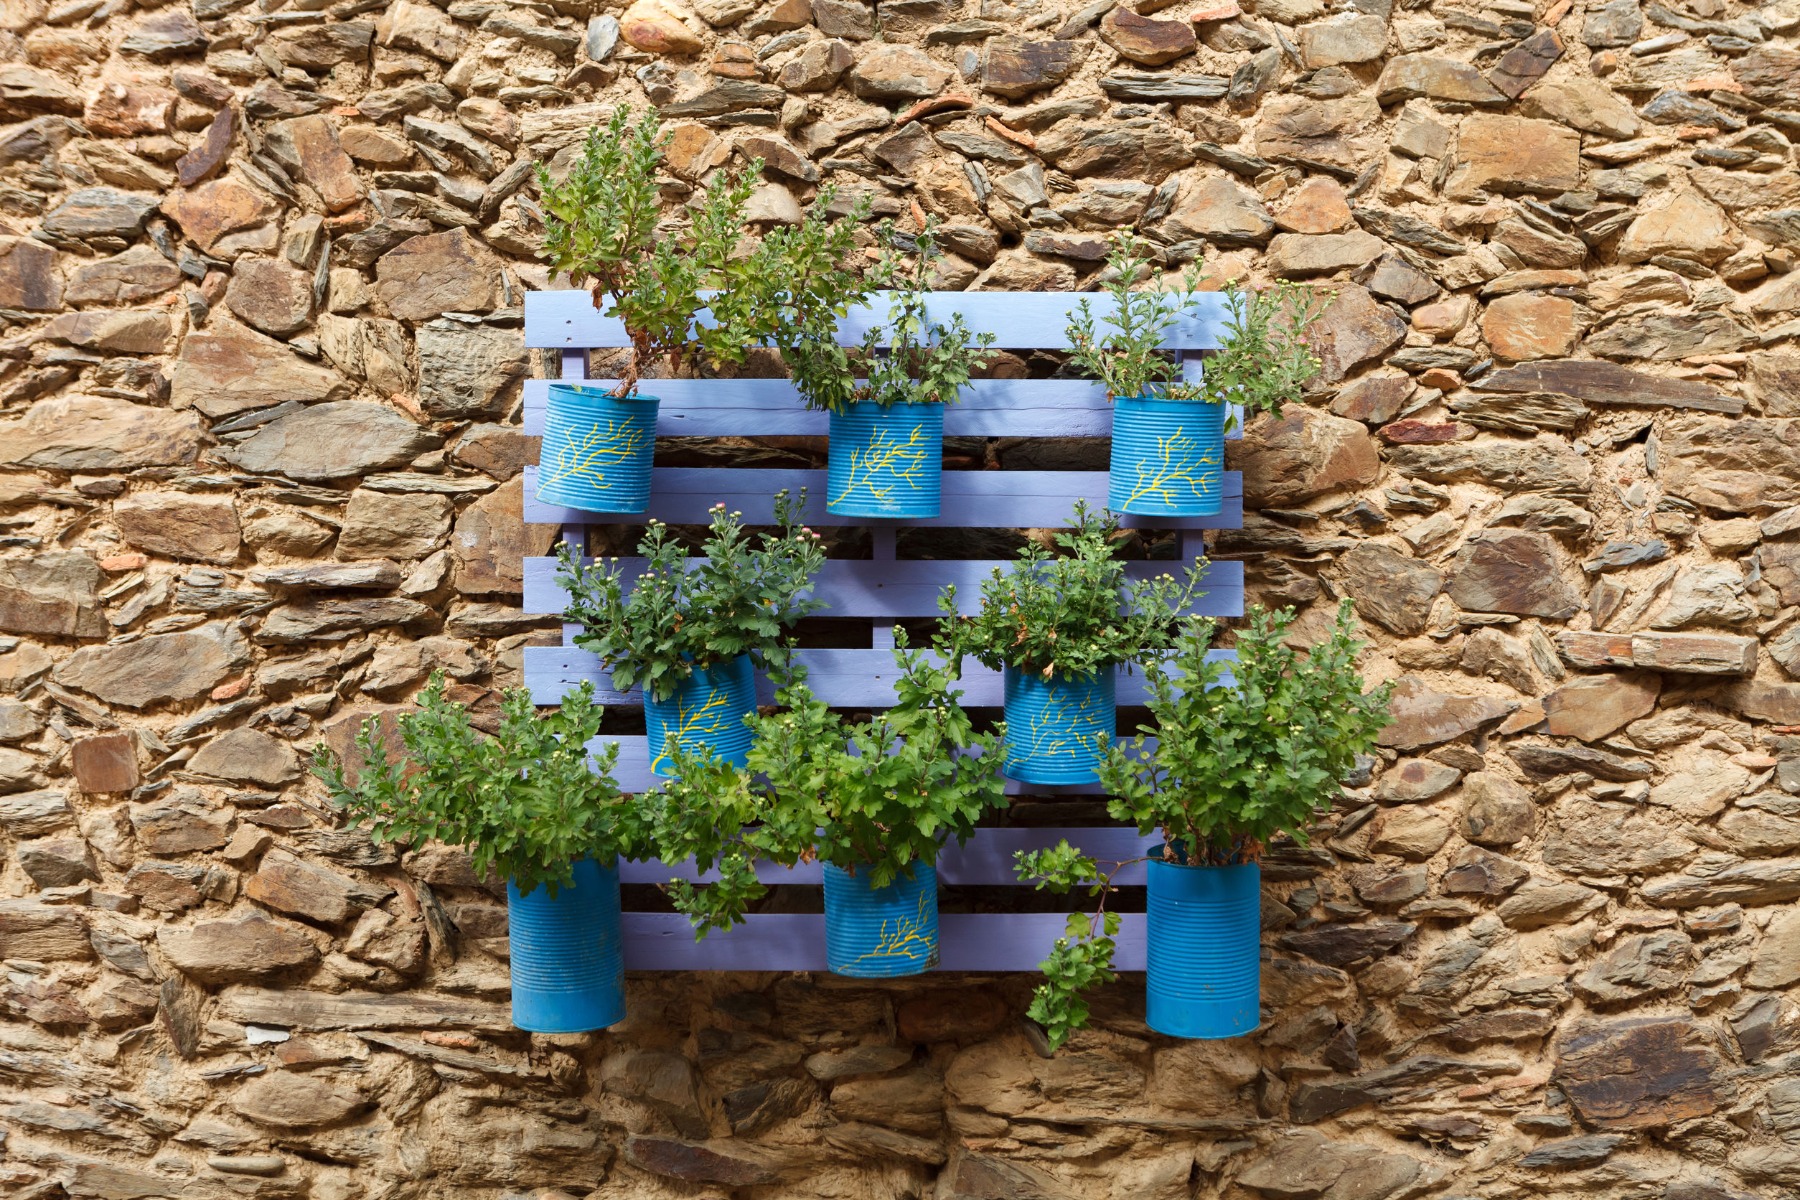
Like basil, dill, parsley, and mint? You’ll love adding an herb garden to your patio this spring! While traditional garden boxes work quite well, you could plant herbs in cookie tins, hanging baskets, and even recycled rain gutters. These are great options for not only expressing your creative side, but also making more room for seating on your patio.
We especially love this space-saving vertical pallet garden from Jenna Burger:
What You’ll Need:
- Wooden pallet (check with your local Lowe’s to see if you can grab a free one!)
- 1 large nail
- 4 eye hooks
- Vise-Grip (or any locking pliers)
- 3 feet of metal chain
- Plastic pots (in spring colors)
- A drill with a ¼-inch drill it
- 3-inch S hooks
What You’ll Do:
- Make sure the pallet is standing up, with slots horizontal (parallel to the ground).
- Use a large nail to start two holes at the top of the pallet. The holes should be two or three inches from each end.
- Screw in the two eye hooks, one for each hole. Use locking pliers for leverage.
- Unlink one of the chain links and feed it through one side of each eye hook.
- Install the two remaining eye hooks through the siding of your porch and into the house, about two inches below the ceiling plane. These should be the same distance apart as the hooks in the pallet.
- Take the loose end of the pallet’s chain, slip it through the eye hooks, and secure the chain on the other side. Now your pallet base is secured and complete!
- Drill a ¼-inch hole into your plastic pot, about an inch down from the top rim. Slip an S-hook through the hole. Repeat for all your plastic pots.
- Plant your dill, basil, oregano, and any other herb you desire.
- Hang your plants on the pallet by the S-hooks.
3. Make a welcome sign.
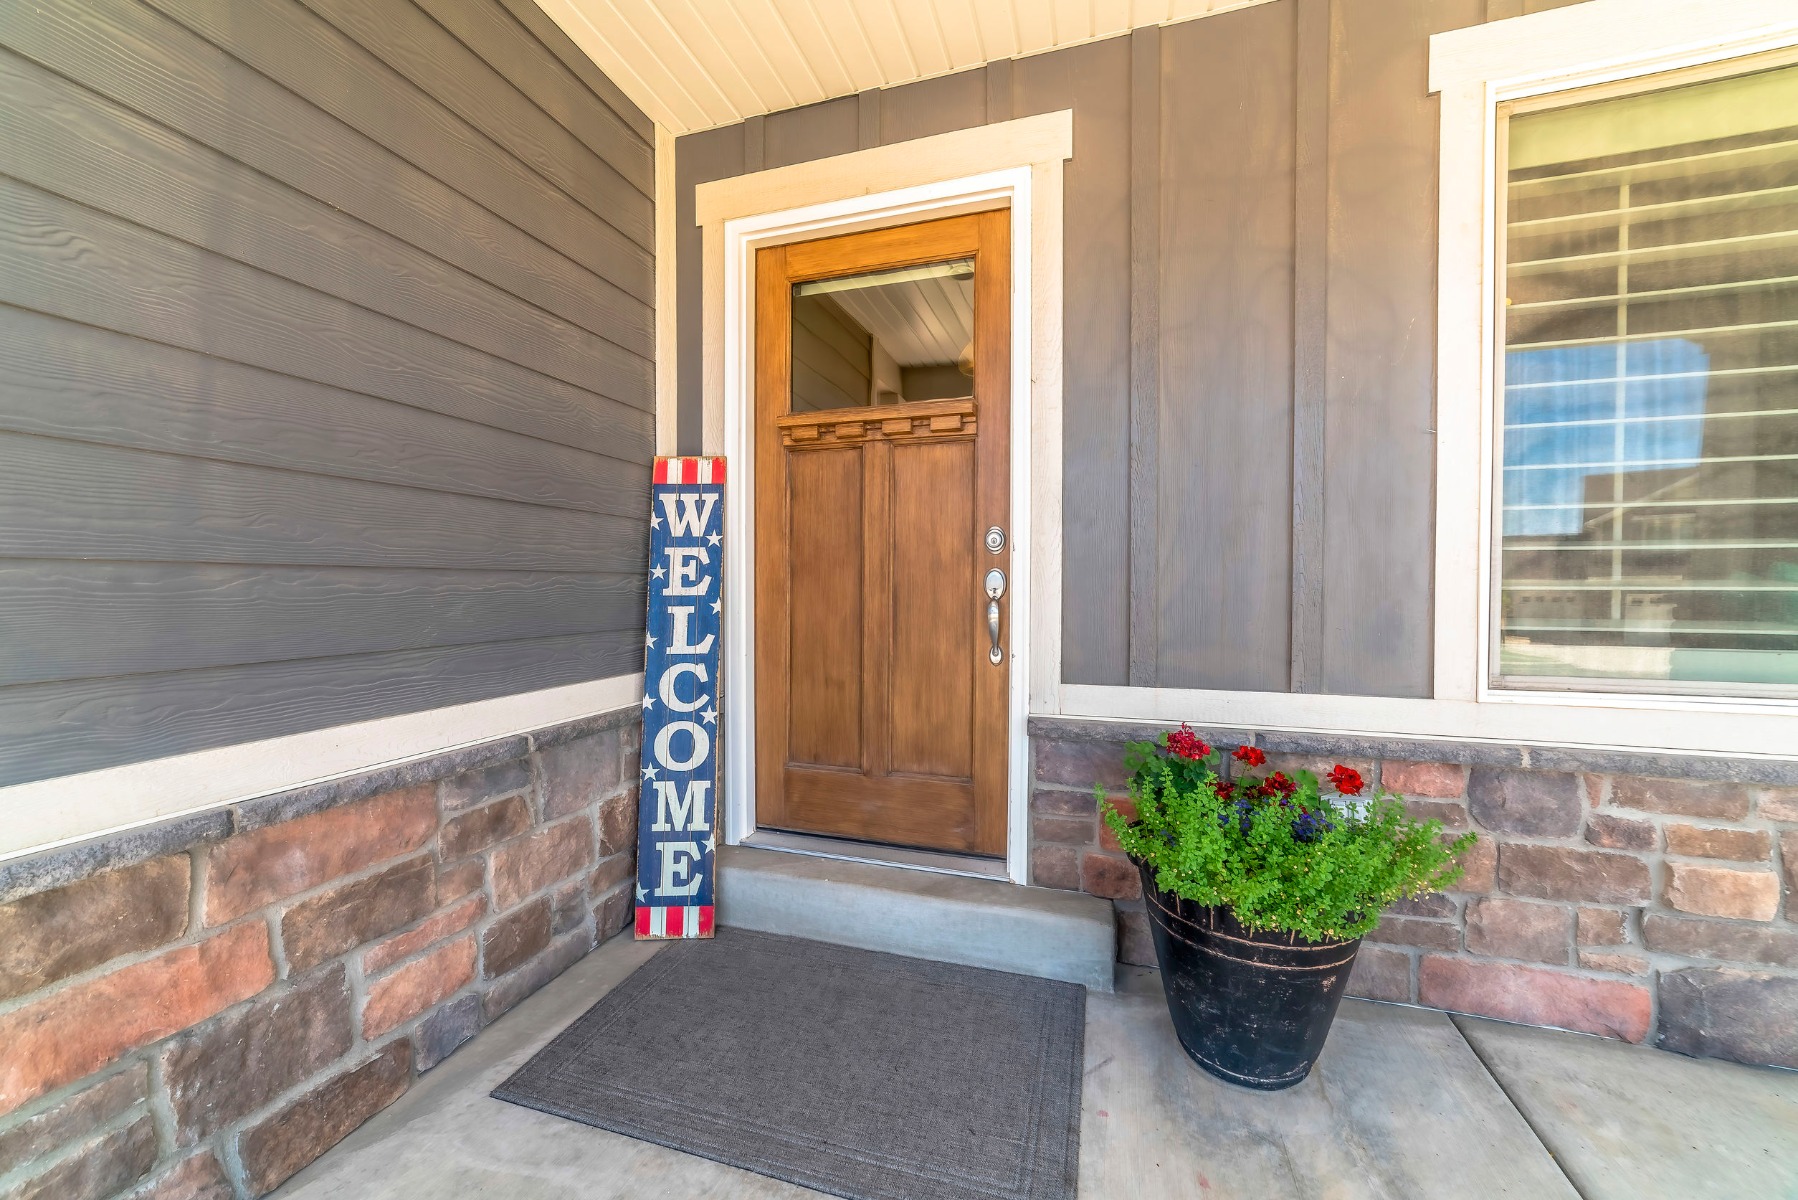
Decorators and homeowners love wood because it’s no-frills, natural-looking, and timeless. If you want to spice up your patio this spring, a wooden welcome sign may be just what you’re looking for! You could even paint the word “welcome” on a vertical board instead of a horizontal one for a visual twist (and another space-saver).
You can make your own welcome sign by following this tutorial from Girl, Just DIY:
What You’ll Need:
- 5-foot wooden board
- White exterior paint
- Craft paintbrush
- Black acrylic paint pen
- Black craft paper
- Carbon transfer paper
- Printer and paper
- Flathead screwdriver
- Screwdriver or cordless drill
- 1-inch painter’s tape
What You’ll Do:
- Paint your board with a coat or two. Let dry.
- Size and print the letters for your welcome sign on your computer and print them off, one letter per sheet.
- Trim away excess paper, leaving an inch on the top and bottom of each letter for spacing.
- Line up the letters on your board. Tape them together and to the board, leaving one long edge without tape.
- Slip carbon transfer paper between the letters and board. Trace the outside edge of each letter onto the board below.
- Outline each letter with a paint pen and fill them in with craft paint and brush.
- Let completely dry, then stand your sign up on your porch or patio.
4. Add colorful, comfy pillows.
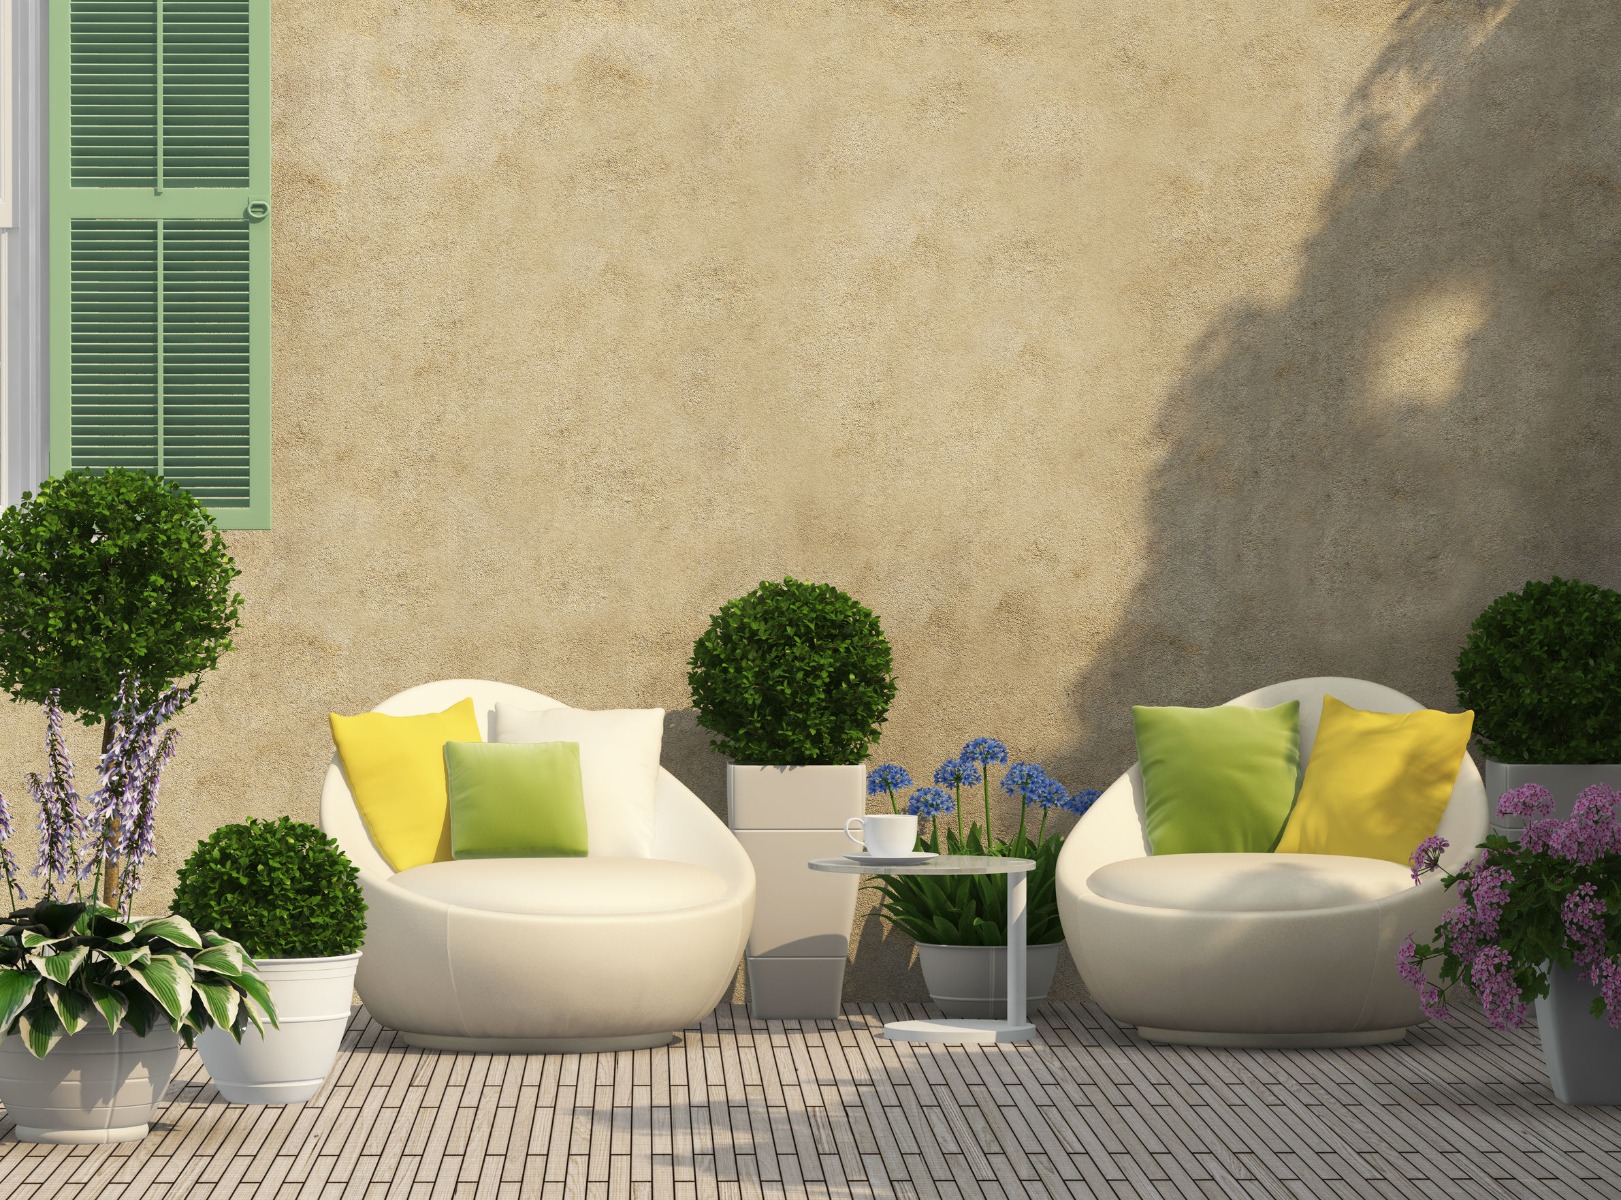
One of the best parts of spring is seeing all the pastel colors and bright hues that the season is well known for. With cheerful pillows, you can add comfort to your patio and pops of color that signal warmer days ahead.
You can buy spring pillows here, or make your own by following this tutorial on our blog:
What You’ll Need:
- Fabric by the yard (in pastel colors and/or floral patterns)
- Pillow stuffing
- Separating zippers
- Iron
- Fabric glue
- Staple gun
What You’ll Do:
- Cut the stuffing to your desired dimensions.
- Cut two fabric pieces that are one inch wider and longer than your stuffing (so the fabric can wrap around the stuffing).
- For the zipper, fold one edge of both pieces over half an inch. Press with the iron.
- Apply fabric glue to each piece’s fold and press with the iron.
- Glue the opened zipper facedown to the pressed seams.
- Make sure zipper teeth are over the edge of the folds (and not touching the glue).
- Let dry, then zip the pieces together.
- Add a line of glue around the pillow, ½ an inch from the edges.
- Match the right sides and press.
- Unzip the pillowcase. Turn it right side out and insert pillow stuffing.
- Repeat for as many pillows as you’d like to make.
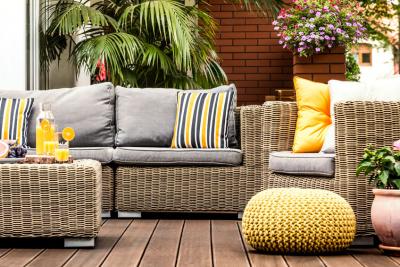
5. Craft your own cushions.

Once you get your patio cushions out from wherever you stored them over the winter, you might discover that a few are in need of replacement. Or, maybe you just want to brighten up your patio with some new colors!
You can always buy replacement cushions, but making your own could be a fun weekend project for the family! Learn how from our DIY tutorial:
What You’ll Need:
- Pastel and/or floral fabric by the yard
- Cushion foam
- Plywood
- Iron
- Fabric glue
- Staple gun
What You’ll Do:
- Cut the foam and plywood to your desired dimensions.
- Cut one fabric piece that’s eight inches wider and longer than your cushion measurements (so it can wrap around the foam and plywood).
- Fold the fabric one inch along each side. Press with an iron.
- Apply fabric glue to the folds and press with the iron.
- Center the foam on the fabric, and the plywood on top of the cushion.
- Pull the fabric over the plywood and staple along the edges.
- Fold the corners and secure with more staples.
Whether you try one of these spring patio decorating ideas or all of them, you’ll be able to express your style and create an outdoor oasis — just in time to relax with loved ones as spring begins!

Summer Living Direct has helped homeowners and decorators find custom cushions, curtains, outdoor art, and umbrellas for their patios since 1994. To learn more, please visit our website or follow us on Facebook.
Related Posts

What’s the best fabric for outdoor cushions?
Which cushions are best for outdoor furniture?

Dos and Don’ts for Taking Care of Patio Cushions

Quiz: What’s your dream patio design?

How to Weatherproof Your Patio for Winter